

Looking for a way to protect your internet privacy and secure your home network? Consider setting up a VPN Gateway using a Raspberry Pi. By routing all of your internet traffic through an encrypted server, you can keep your ISP (and hackers) from seeing your online activity. While you can easily install a VPN on your laptop, other devices like game consoles and smart TVs may not offer this option. Instead of purchasing a router with VPN capabilities which is great but expensive, you can use a Raspberry Pi to serve as a VPN gateway.
I have had the desire to set up a router-wide VPN for all of my devices for a long time, but it has always been on the back burner. Recently, my purchase of a Samsung QLED TV has pushed me to prioritize this project. I am concerned about the data that TizenOS, the smart TV operating system, may be sending back to Samsung and want to minimize this. Additionally, having a VPN would allow me to change my region and access streaming services that are not available in Australia.
With just a few scripts, you can configure any Raspberry Pi to route traffic through a VPN before it connects to the internet. All you need is a Raspberry Pi (I recommend using Ubuntu server), a VPN subscription, and your provider’s OpenVPN configuration files and encryption certificates. I use ProtonVPN as my VPN provider. You can read about ProtonVPN threat model here.
Follow these steps to create your VPN gateway with a Raspberry Pi:
- Install the OpenVPN packages by typing the following:
$ sudo apt install openvpn- Navigate to the folder for your OpenVPN configuration files by typing
$ cd /etc/openvpn- Download the configuration files from your VPN provider. On ProtonVPN, you can login and visit the link https://account.protonvpn.com/downloads. Unzip the config files.
- Open a connection to any of these servers using the command where “example” is the filename of the configuration file.
$ sudo openvpn example.ovpn -daemon- Create a file called
auth.txtin the/etc/openvpndirectory and enter your VPN username on the first line and password on the second line. ProtonVPN has a special personal access token that you can use to validate access instead of using your account’s username and password. There might be a better way than storing this plain text file in your device. - Edit the OpenVPN config file you want to use by adding the line
auth-user-pass /etc/openvpn/auth.txtafter the “client” line at the top of the file. - Create a script called
vpn.shin the/etc/openvpndirectory and enter the following lines:
#!/bin/bash
sudo killall openvpn
sudo -b openvpn /etc/openvpn/{openvpn config file}.ovpn- Make the script executable:
$ chmod +x /etc/openvpn/vpn.sh- Start the OpenVPN service by typing:
$ sudo bash /etc/openvpn/vpn.sh- Test the connection by pinging an external IP address such as
ping 1.1.1.1.
Your Raspberry Pi is now set up as a VPN gateway. To connect to the VPN, simply execute bash script. To disconnect, type sudo killall openvpn. When I ssh my way into my Raspberry server I could see the following:
ubuntu@ubuntu:~$ nmcli connection show
NAME         UUID                                  TYPE      DEVICE
tun0         e5a1xbde-ab39-4c5c-886x-8f316d5xx217  tun       tun0

ubuntu@ubuntu:~$ netstat -r
Kernel IP routing table
Destination     Gateway         Genmask         Flags   MSS Window  irtt Iface
103.107.xxx.100 10.1.x.x        255.255.255.255 UGH       0 0          0 eth0

$ curl ifconfig.me
103.107.xxx.123
The above means that when I set the Raspberry Pi’s local IP as the gateway IP on other devices connected to the same router, a VPN tunnel will be active and all data transmission will go through ProtonVPN. The destination IP is now 103.107.xxx.100 which is an IP for a server in Singapore, whereas 10.1.x.x is the IP of my local router. My final exit IP that web servers is 103.107.xxx.123.
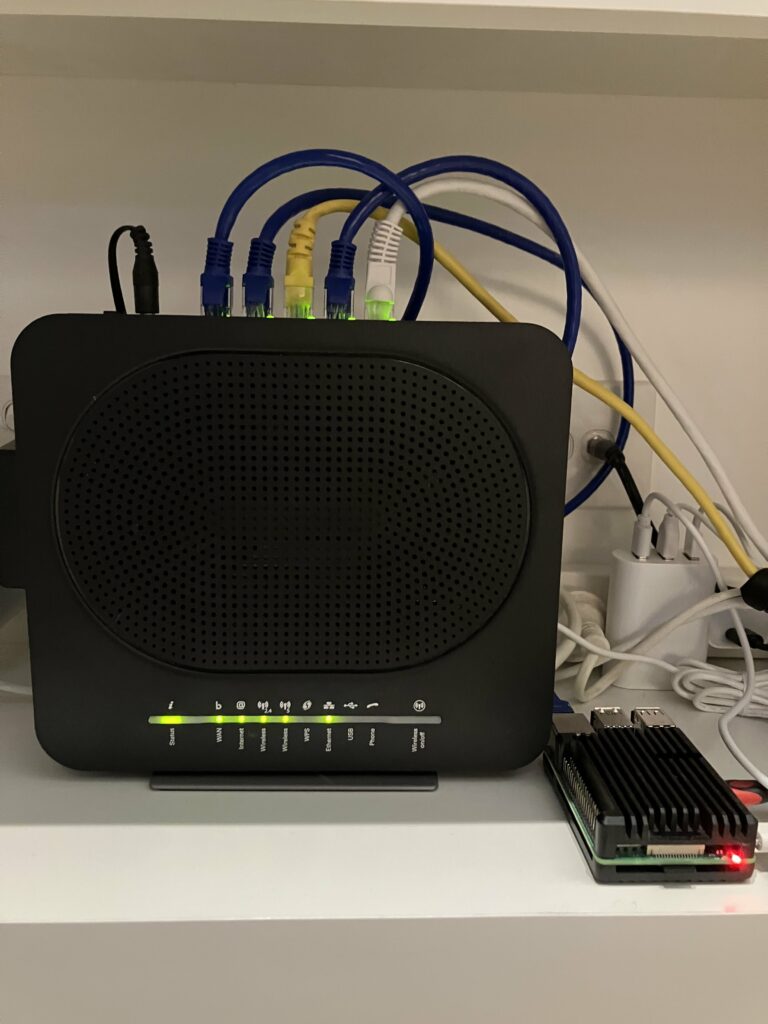
Here is the setup of my Raspberry 4 next to my home router:
On your device, in my case my Samsung QLED TV, you can manually adjust the IP setting where the gateway IP should be pointed to your Raspberry local IP instead of the IP of the router. You will also need to allocate a new IP address for your device. Follow your router’s manual on how to do this. My device location is now based in Singapore where I can now enjoy the streaming service directly via the internet app on my Samsung TV.