
I recently made the decision to leave Twitter and delve into the Fediverse through Mastodon. The change has been incredibly liberating and has allowed me to learn about new concepts and ideas that were previously unknown to me. It has been refreshing to break free from the hold of large tech social media platforms. You can find me on http://nobirds.social. Since the whole site is mine, I can even grant myself verified ✔️status 😉.
To begin using Mastodon, I used the app available from Digital Ocean marketplace to set up my instance. However, the version that I was using, v3.5.0, was a few releases behind the current stable release. After using v3.5.0 for a few weeks, I wanted to upgrade to the latest stable version while keeping my data intact. The process of upgrading from v3.5.0 to the current stable version, v4.0.0, required me to gradually upgrade through each stable release. Although it was not a simple process, I was able to successfully follow the instructions provided for each release and successfully upgrade to v4.0.0.
Steps to upgrade from v3.5.5 to v4.0.0:
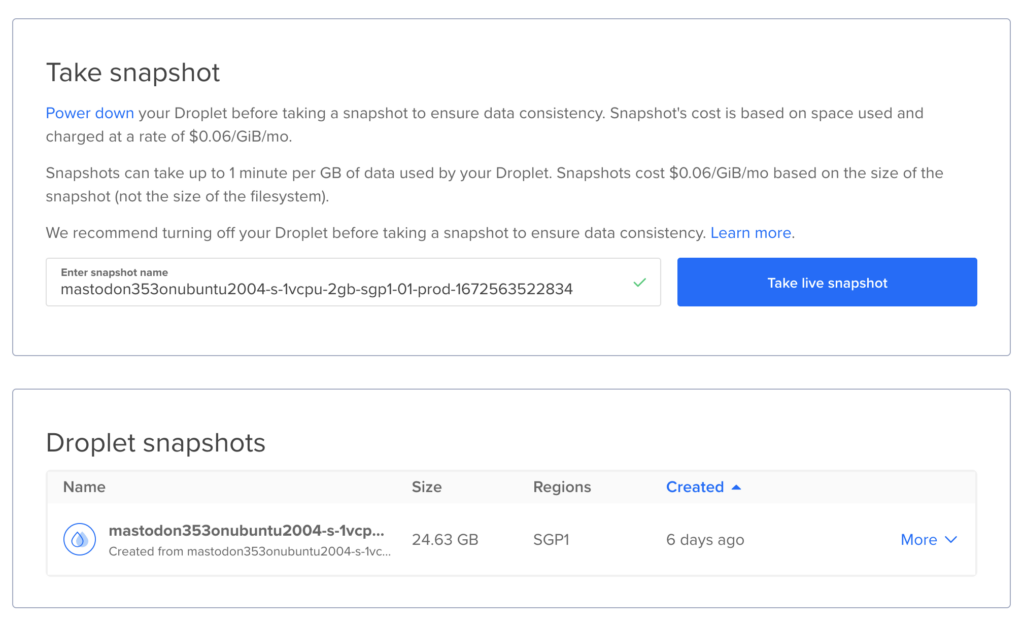
- Take a snapshot of your current Mastodon instance on Digital Ocean.
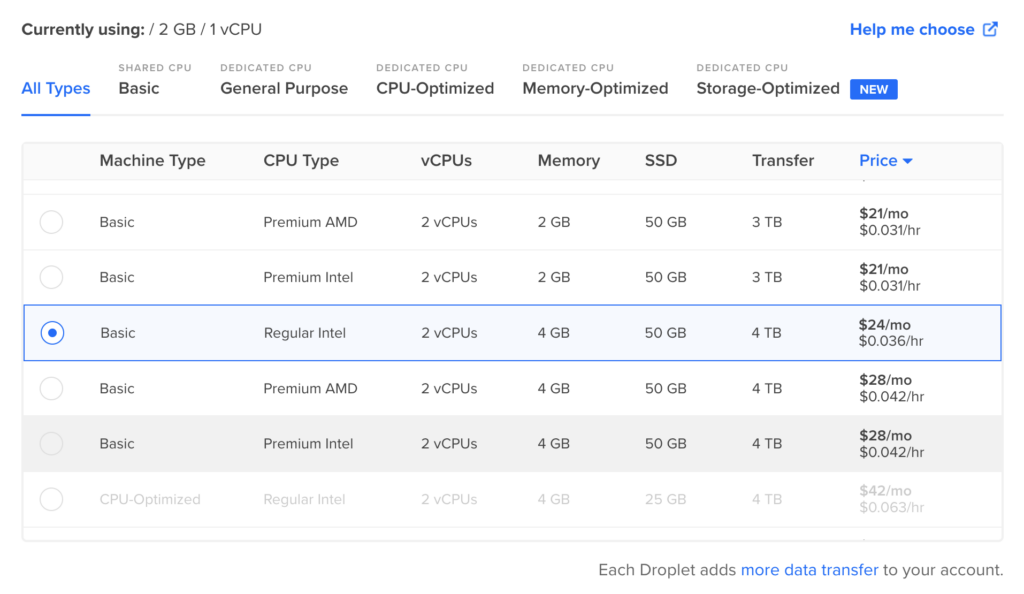
- Increase the droplet’s CPU and RAM to 4GB to allow for faster processing of the ruby commands needed for the upgrade.
- Follow the upgrade instructions provided on the release page for
v4.0.0(https://github.com/mastodon/mastodon/releases/tag/v4.0.0). - Once the upgrade is complete, resize the CPU back to its original configuration (2GB with 2 CPUs).
- Check the footer of your Mastodon landing page to ensure that it now displays
v4.0.0.

If you’re considering deploying Mastodon on Digital Ocean, here is a referral link for you to use. Fediverse is probably here to stay unless something better comes along. The internet hopefully can be fun again.